1-8 Any%
Warpless
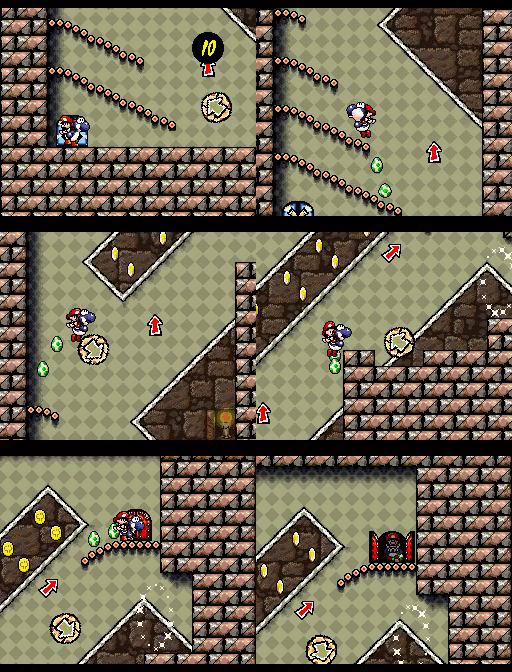
The first room is simple, with only minor possible optimizations. Avoiding red coins and running along moving platforms that move to the right will save frames.
In the second room, shooting the fish with an egg (as shown) before he has a chance to spray you is the optimal strat.
In the third room, an upward egg to hit the red switch off-screen is the safest and fastest route. Use a green egg here to avoid the lag generating by spawning coins or stars. Getting the camera to scroll high enough to load in the switch can be tricky. You need to jump quickly (but not on the first possible frame) off of the green platform and the one above it so that the camera continues to scroll up.
If you have an extra egg, you can also throw an upward egg at the pot to start moving it before you get to it. The egg needs to be angled slightly to the right so it pushes the pot to the right.
Alternate switch shot: [1]
Damage boost strat: [2]
In the fourth room, spitting out and jumping on the moving arrows is faster than simply riding on them but it takes slightly different inputs for each. Spit out the first platform by rolling your thumb from B to Y while moving to the right. Yoshi should land on top of the platform with just enough time to jump off it and just enough height to flutter up to the ledge above. With the second rotating platform, pressing B and Y at the same time to jump and spit is the most consistent strat.
Finally, for Salvo, there is a consistent 4-5 egg kill that involves throwing one or two (in practice, almost always two) horizontal eggs, making 3 eggs during his invulnerability timer (when he's wiggling on the ground), then throwing two more horizontal eggs followed by an up-egg.
Boss Fight Comparison
The following video will show a comparison between 4 different strats - the one on the bottom right is the easiest (but slowest) while 1-cycle (top left) is the hardest to nail.

